Food Photography with Impact: How to Guide the Eye Through the Image

Food Photography with Impact: How to Guide the Eye Through the Image
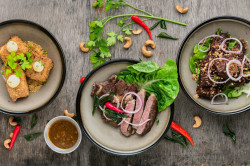
A great food photo isn’t just about delicious food—it’s about telling a story that makes the viewer’s mouth water. When you see a photo of a steaming bowl of pasta or a perfectly glazed donut, it’s no accident how the light hits or how the ingredients are arranged. Skilled food photographers use composition, color, and focus to guide the viewer’s eye through the image. Here’s how you can create food photography that captures attention—whether you’re shooting for social media, a blog, or a magazine.
Start with the Story – What Do You Want to Say?
Before you pick up your camera, ask yourself: What’s the story behind this dish? Is it about the freshness of the ingredients, the comfort of a homemade meal, or the elegance of fine dining? Once you know the mood, it becomes easier to choose lighting, background, and props.
A rustic stew might call for warm, earthy tones and a textured linen backdrop, while a bright summer salad shines best in natural light with clean, simple surroundings. The story sets the stage for every visual choice you make.
Composition: Create Movement in the Frame
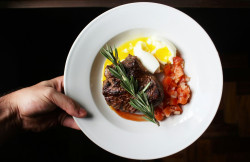
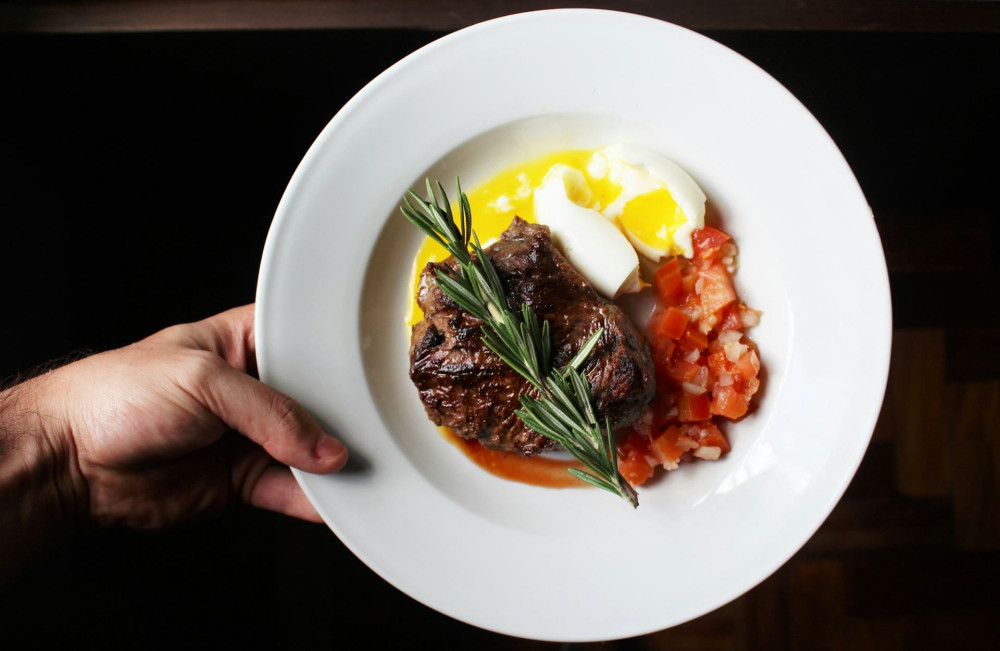
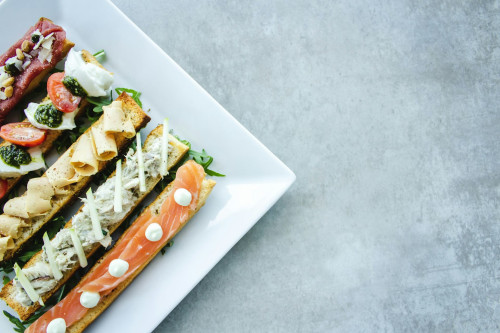
A strong food photo leads the viewer’s eye naturally through the frame. Use classic composition principles like the rule of thirds or the golden ratio to position your main subject slightly off-center. This creates balance and visual interest.
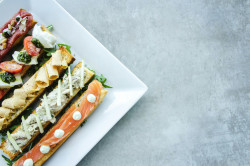
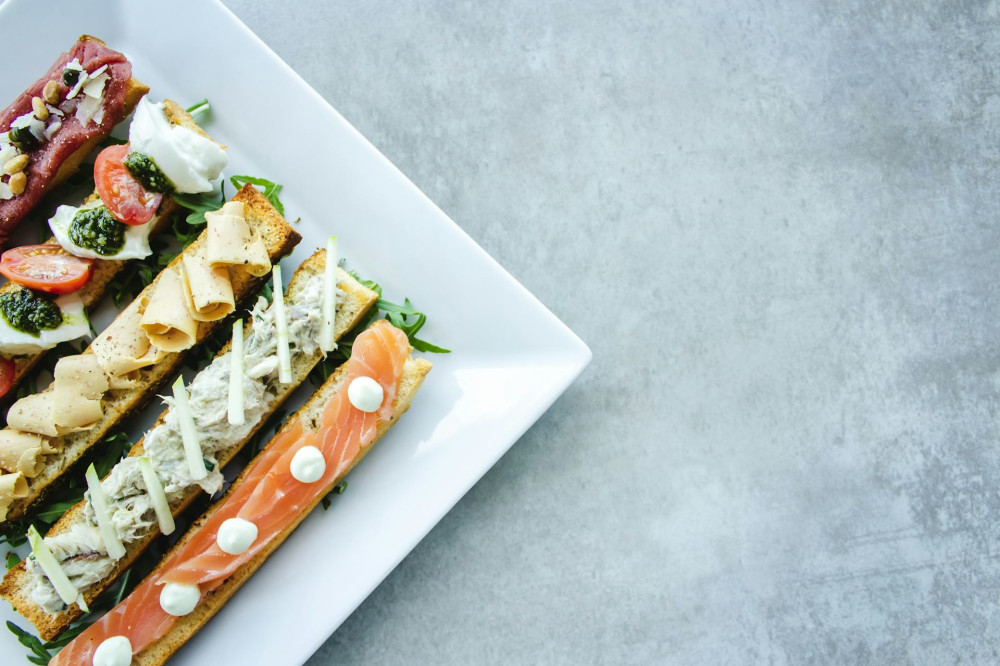
You can also use lines and shapes to guide the eye. A spoon, a folded napkin, or a row of ingredients can act as visual “paths” that draw attention toward the hero of the shot. Think about depth, too—include elements in the foreground, middle, and background to make the image feel more dimensional.
Læs også:
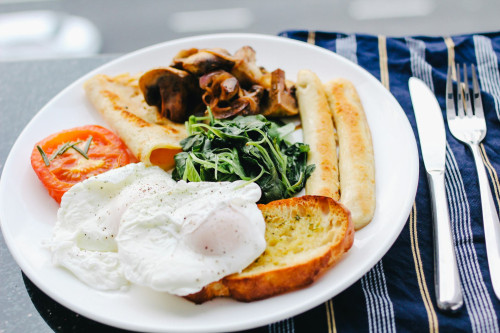
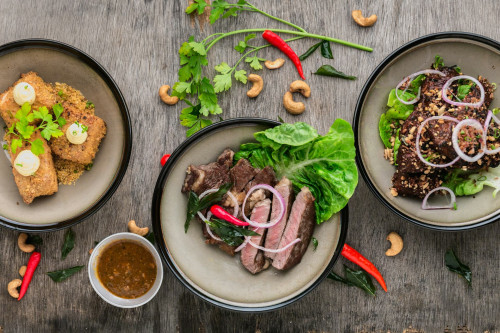
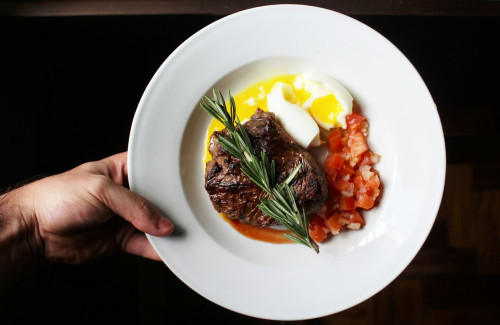
Lighting: The Secret Ingredient
Lighting is everything in food photography. Natural daylight from the side or slightly behind the subject often gives the most appetizing results, highlighting textures and colors. Avoid harsh, direct sunlight, which can create strong shadows and blown-out highlights.
If you’re shooting indoors, use a reflector or a piece of white foam board to soften shadows. Experiment with light direction—a backlight can make steam, glaze, or dressing sparkle, while side light emphasizes texture and shape.
Color and Contrast: Make the Food Pop
Color influences how we perceive flavor and mood. Fresh greens suggest health and vitality, while warm reds and oranges evoke energy and appetite. Use color intentionally—in both the food and the setting.
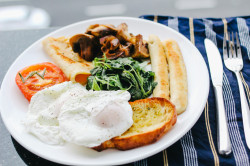
A neutral background helps the dish’s colors stand out, while contrast—like a dark plate under a light dish—adds drama. Avoid too many bold colors competing for attention; simplicity helps the viewer focus on what matters most.
Styling: Embrace Imperfection
Perfectly arranged food can look stiff or artificial. Instead, aim for a natural, appetizing sense of imperfection. A drizzle of sauce, a few crumbs, or a half-eaten bite can make the image feel more real and inviting.
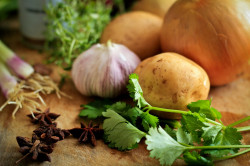
Choose props thoughtfully: utensils, napkins, and glassware should support the story, not distract from it. Think about texture—wood, fabric, and ceramic add warmth and depth, while metal and glass bring a touch of sophistication.
Focus and Depth of Field: Direct the Viewer’s Gaze
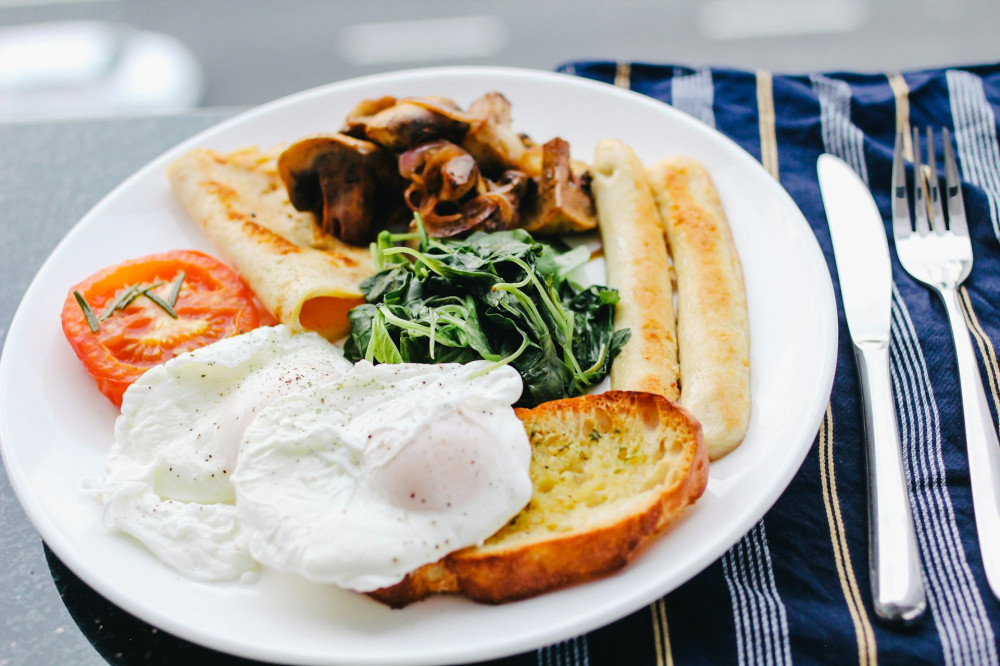
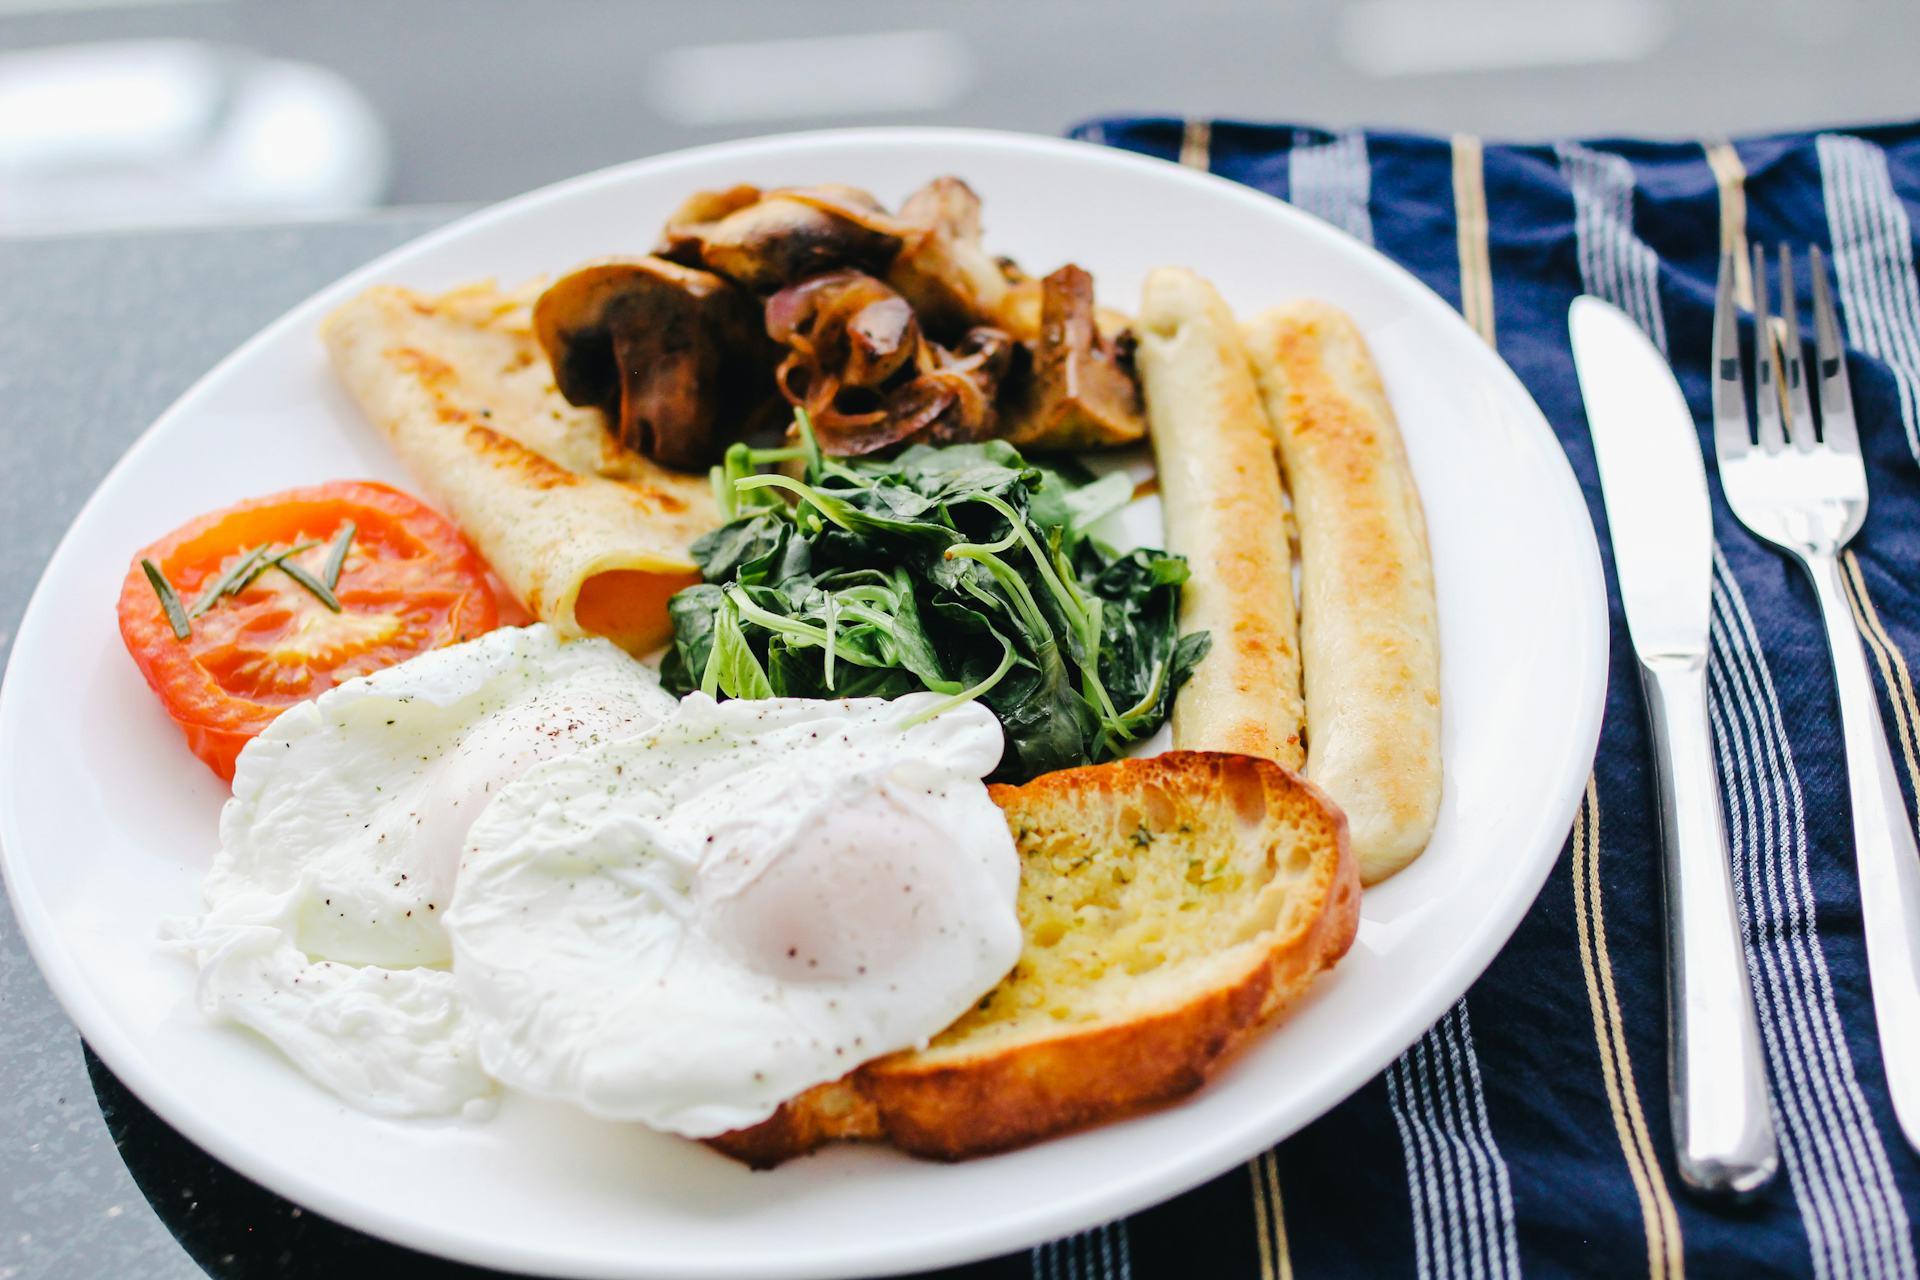
Your camera’s focus is your most powerful storytelling tool. A shallow depth of field (a low f-stop number) blurs the background and draws attention to the main subject—perhaps a single berry on a cake or a spoonful of soup in the foreground.
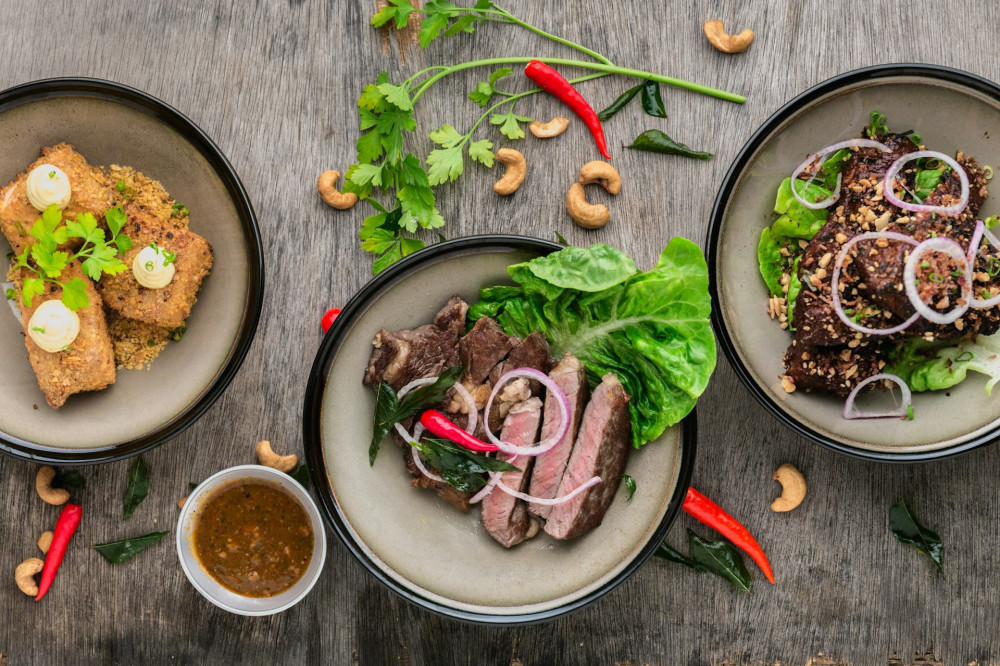
If you want to show more of the scene—say, a full table spread—use a higher f-stop to keep more elements in focus. Try different angles: overhead shots work well for flat dishes like pizzas or salads, while angled shots add depth to layered or tall foods.
Editing: Polish Without Overdoing It
Editing isn’t about changing reality—it’s about enhancing what’s already there. Adjust exposure, contrast, and white balance to make the image look natural and appetizing. Avoid over-saturation or heavy filters that make the food look fake.
A good test is to compare your edited photo to how the dish looked in real life. If it makes you hungry, you’ve nailed it.
Practice Makes Perfect—and Hungry
Food photography takes patience and experimentation. Try different setups, lighting directions, and angles, and learn from what works. The more you understand how the eye moves through an image, the stronger your photos will become.
And remember: the goal isn’t to follow every rule perfectly, but to create images that evoke taste, mood, and curiosity. When your viewer can almost smell and taste the food through the screen, you’ve truly captured the essence of great food photography.
Læs også: